Bring Your Own AI: Setting Up Claude, OpenAI, or Grok in Mira
Most apps with AI features bundle a model, route your requests through their own servers, and fold the cost into their subscription. Mira takes a different approach: you connect your own API key from Claude, OpenAI, or Grok, and the app talks to that provider directly from your device. It's a few minutes of setup, once — this guide walks through all of it, including the billing detail that catches most people.
Why bring your own key
- You choose the model. Prefer Claude? Already have an OpenAI account? Curious about Grok? Mira works with whichever provider you pick, and the choice lives in Settings, so it isn't permanent.
- You control costs. There's no middle layer marking anything up — usage is billed by the provider, at the provider's rates, and for occasional summaries the costs are typically small.
- Your key stays on your device. Requests go directly from your device to the provider — they never pass through Mira's servers.
Getting a key (the short version)
All three providers follow the same pattern: create an account on the provider's developer or API console, generate an API key, and set up billing.
- Claude — API keys for the Claude models come from Anthropic's developer console.
- OpenAI — keys are created in OpenAI's API platform dashboard. Note that this is separate from a ChatGPT subscription.
- Grok — xAI issues API keys through its own console.
Whichever you choose, treat the key like a password. It's tied to your billing, so don't paste it anywhere you wouldn't paste a password.
Which provider?
Mira treats all three the same way: pick one, paste a key, and the same summary actions and chat are available whichever you choose. If you already have an account with one of them, start there — it's one less signup. And since the choice lives in Settings, switching later is just a matter of generating a key with a different provider and pasting it in.
Connecting it to Mira
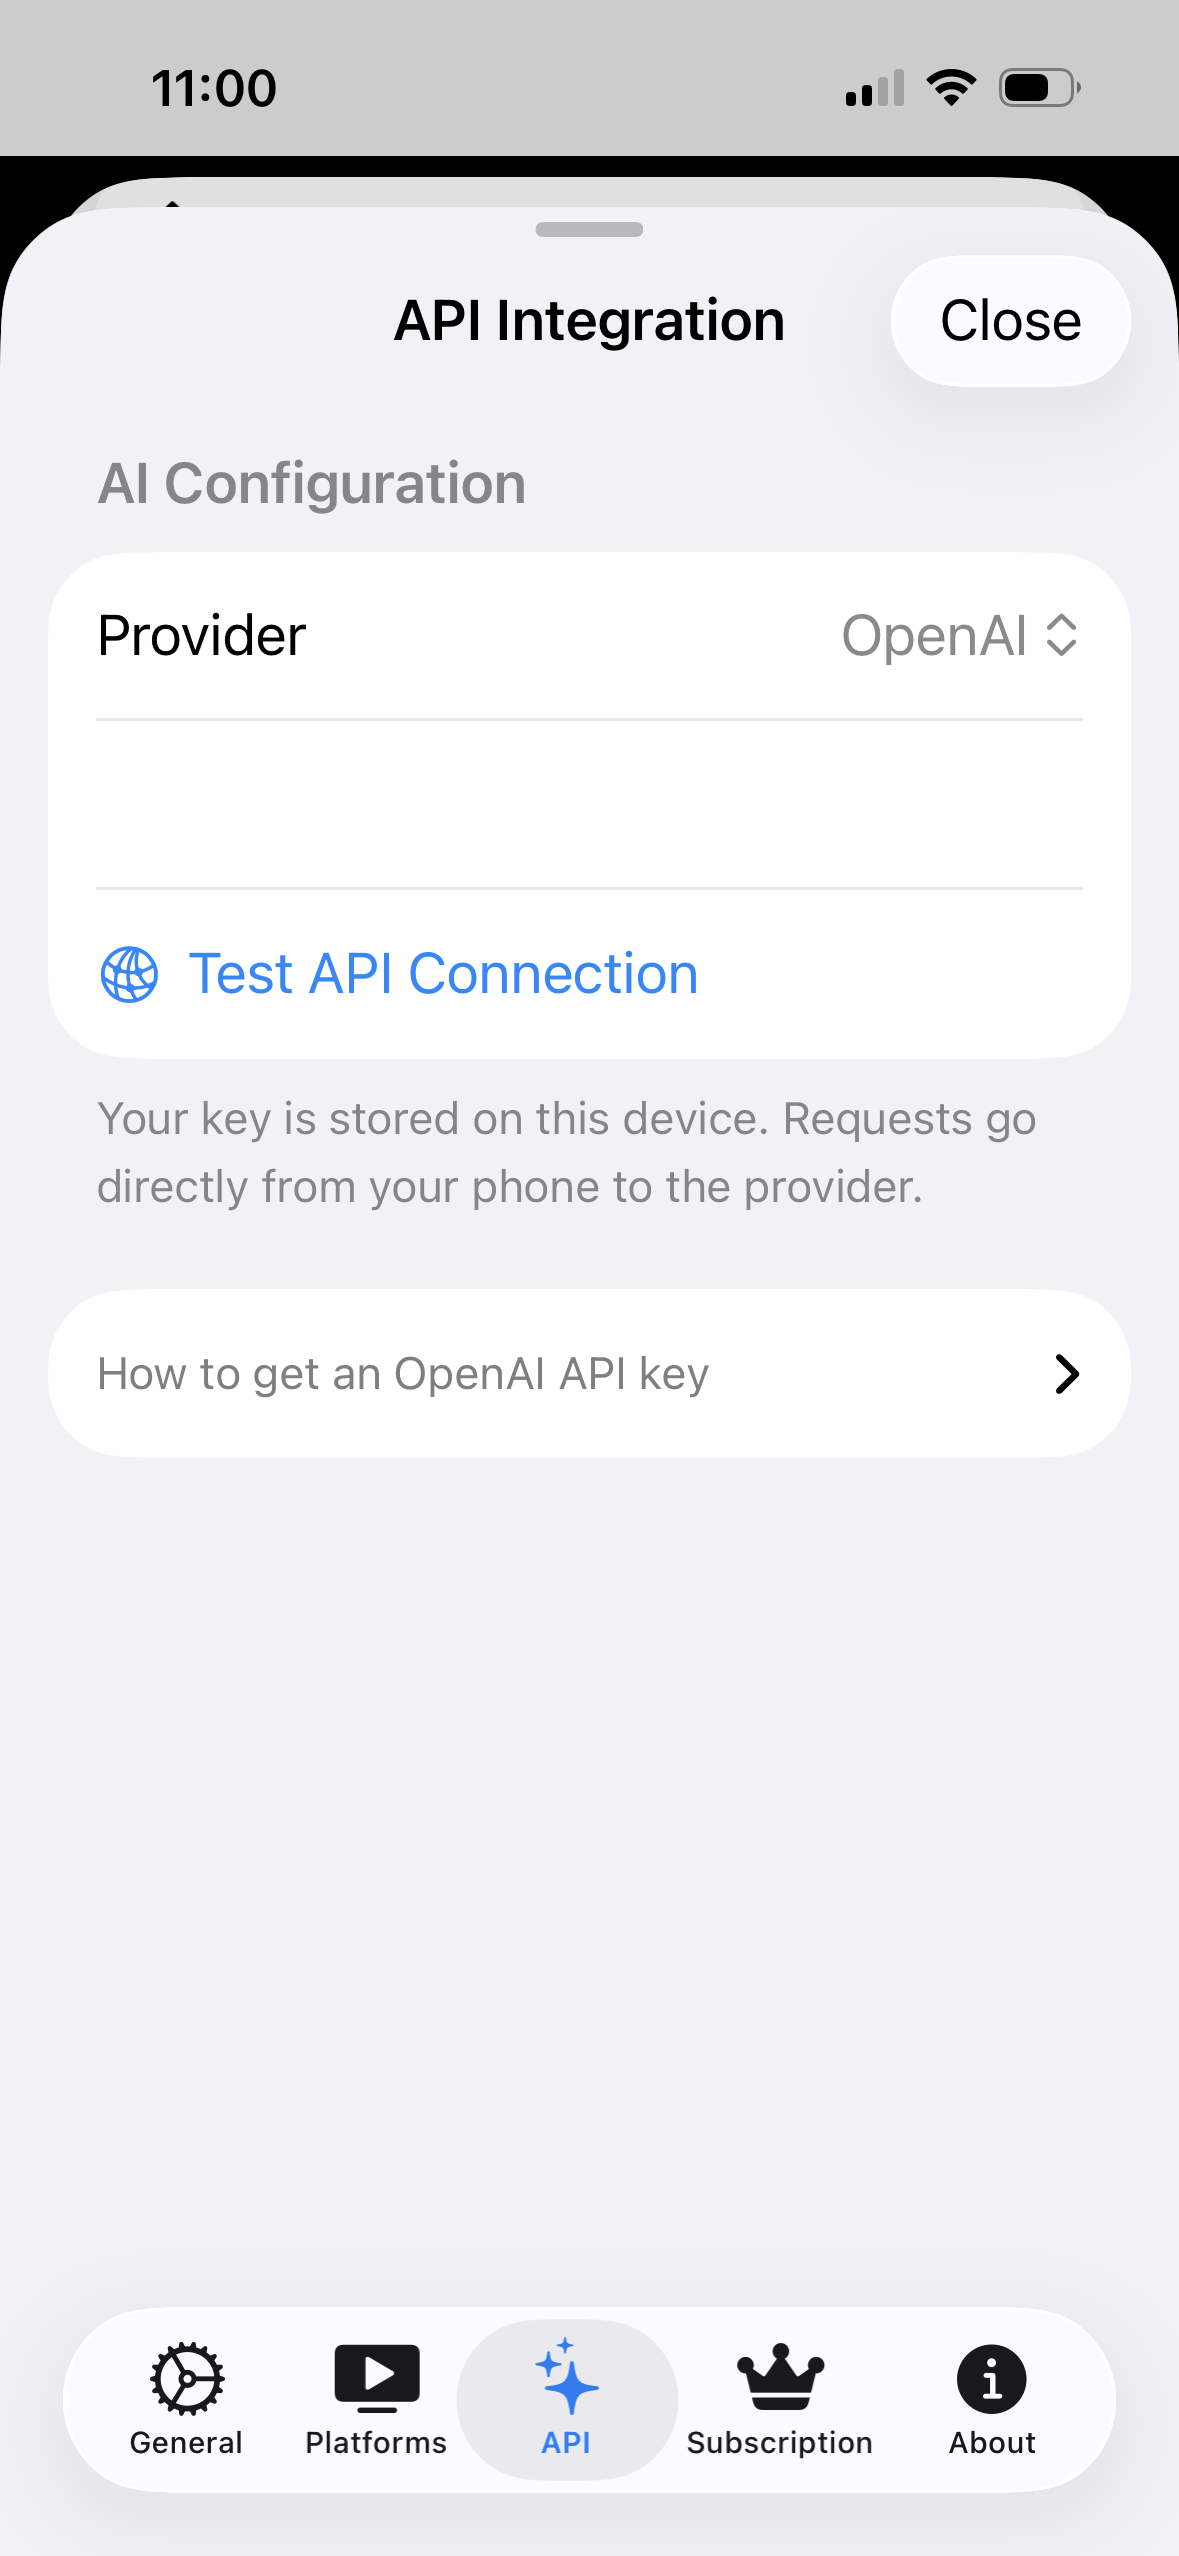
- Open Settings — the gear icon in the toolbar on Mac and iPad; on iPhone, tap the eye button, then scroll down and tap Settings.
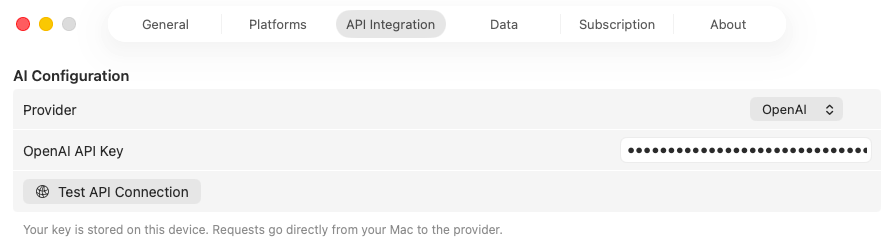
- Go to API Integration.
- Choose your provider: Claude, OpenAI, or Grok.
- Paste your API key.
- Tap Test API Connection to confirm everything works end to end.
The test is worth the tap: it tells you right away whether the key and the account behind it are working, instead of leaving you to find out the first time you ask for a summary.
The detail that trips people up: billing
An API key on its own isn't enough. Providers require billing to be set up before API calls will succeed — without a payment method on the account, requests return an error and summaries won't generate, even though the key itself is perfectly valid. If Test API Connection fails with a fresh key, this is the first thing to check.
Add a card (and credits, where the provider uses them) in the provider's billing settings before testing. The consolation is scale: summaries are measured in fractions of a cent, so a small preload goes a long way.
What it unlocks
With a working key, the AI Summary tab comes alive: one-tap summaries of long videos — key takeaways, outlines, key quotes, and more — plus a chat box for asking questions about what was said. And if you'd rather not set up a key at all, that's fine too: transcripts, transcript search, and everything else in Mira work without one.
Things to note
- API usage costs money, billed by the provider. For occasional summaries the cost is typically small, but it's a real account of its own, separate from Mira.
- A key alone isn't enough. The provider account needs a payment method enabled before calls succeed; a key without billing set up returns an error.
- The AI features are YouTube-only and need captions. They read the video's transcript, which comes from YouTube's caption data — a video without captions has nothing to summarize.
Mira is a native video player for iPhone, iPad, Mac, and Apple TV that skips sponsors, intros, and other unwanted segments — with searchable transcripts, AI summaries, and synced watch parties.