Getting Started with Mira
Mira is a calmer way to watch YouTube and other video sites, and it's a single app across iPhone, iPad, and Mac — one download, three devices. This guide covers your first ten minutes: installing, the first-launch setup, and where everything lives once you're in.
Install it
- Open the App Store on your iPhone, iPad, or Mac and search for Mira.
- Check the requirements: iOS 17, iPadOS 17, or macOS 14 or later.
- Install on as many of your devices as you like — Mira is one universal app, so it’s the same experience on all of them.
The first-launch setup
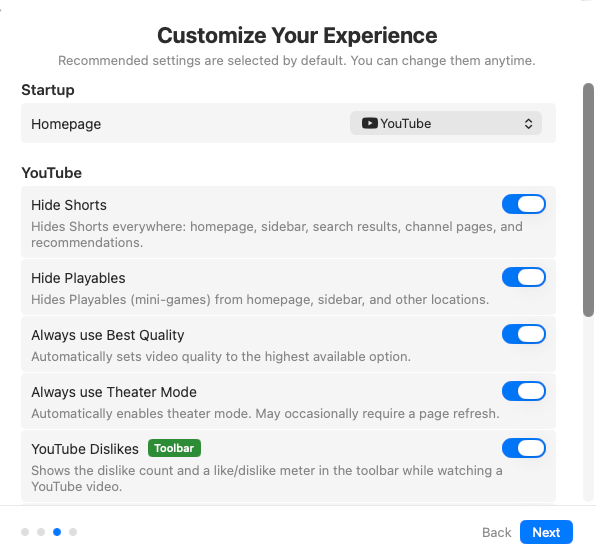
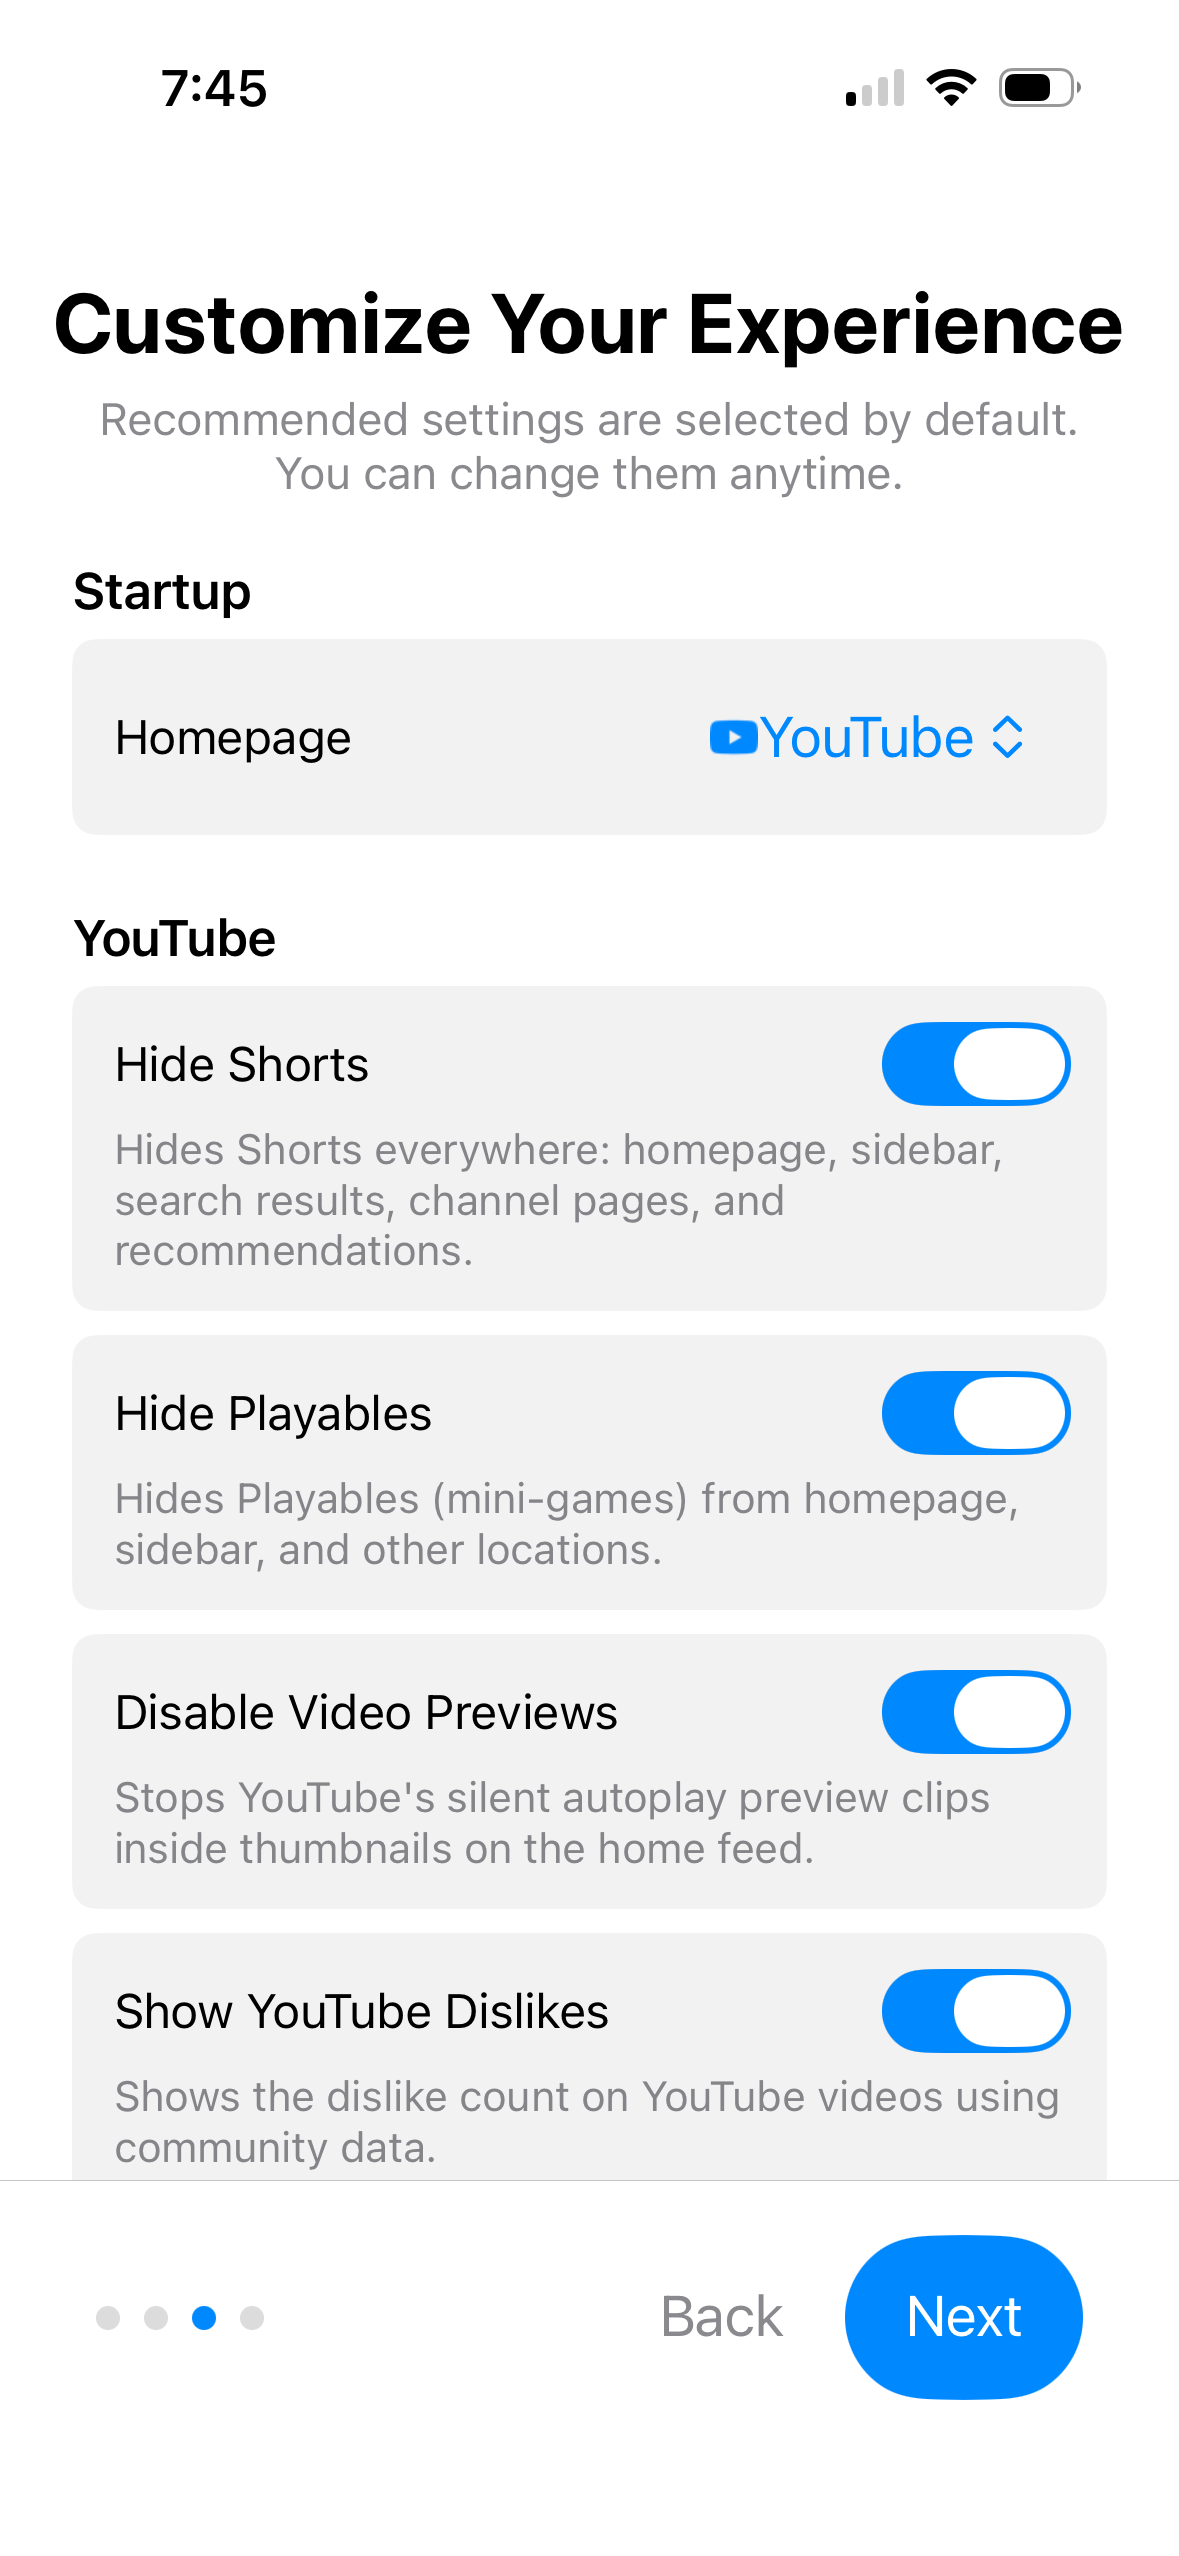
The first time you open Mira, a quick four-step setup introduces the app and asks for your starting preferences. Recommended options are pre-selected, and every choice can be changed later in Settings — so it's safe to breeze through. Here's what you're choosing:
- Homepage — the site Mira opens to: YouTube, Netflix, Disney+, or a platform you add yourself.
- YouTube cleanup — Hide Shorts, Hide Playables, and Disable Video Previews quiet the home feed, while Always use Best Quality, Always use Theater Mode, and Show YouTube Dislikes set up the player the way you like it.
- Auto-login — stay signed in to YouTube so your subscriptions and history follow you, or turn it off to browse as a guest.
- SponsorBlock — community-powered skipping of sponsors, intros, recaps, and other in-video segments. Worth enabling; there's a full guide in How to Use SponsorBlock on iPhone and iPad.
- AI key (optional) — connect a Claude, OpenAI, or Grok key to unlock AI summaries. You can skip this entirely — transcripts work without it — and set it up later if summaries turn out to be your thing.
Not sure about any of it? Leave the defaults. Nothing here is permanent.
Finding your way around
On Mac and iPad, your controls live in the toolbar: home, back and forward, playback speed, Focus Mode, transcript, Watch Together, Settings, and more, all one click away. On iPad you can move the toolbar to the left, top, or right edge under Settings → General.
On iPhone, there's no permanent toolbar taking up space. Instead, a floating eye button sits in the bottom-right corner — tap it to open the tool menu, where every control lives: search, playback speed, Focus Mode, transcript, Watch Together, Settings. The button fades as you scroll down and reappears when you scroll up.
Beyond YouTube
YouTube, Netflix, Hulu, Disney+, Max, Prime Video, Apple TV+, Twitch, and more are built in — open the Platforms menu and pick one to jump straight to it. You can also add any public video site as a custom platform under Settings → Platforms and even make it your homepage. There's a closer look at this in using one app for every video site.
Three things to try in your first session
- Focus Mode — tap the moon icon (or find it in the tool menu). On the YouTube homepage it leaves a clean page with just the search bar; on a video it hides comments and recommendations while the video keeps playing.
- Transcripts — open a video's transcript, search it, and tap any line to jump to that moment.
- Watchlist — save a video for later, and resume it from your saved spot when you come back.
Things to note
- Several features are YouTube-only. SponsorBlock, transcripts and AI summaries, Focus Mode, and the YouTube tweaks apply to YouTube; they don't carry over to other platforms you watch in Mira.
- Sign in once per service. Mira gets you to Netflix or Disney+ in one tap, and you sign in with your own account, just as you would in a browser.
Mira is a native video player for iPhone, iPad, Mac, and Apple TV that skips sponsors, intros, and other unwanted segments — with searchable transcripts, AI summaries, and synced watch parties.